Tag: map

  • Mage Tower

    Mage Tower

    Currently the abode of a wizard trying to make her constructs by using magic items as a power source.

    This tower is built on a lone rocky knoll rising from the boggy marsh.

    A one-shot adventure for 4 level 3 characters.

    Level 1

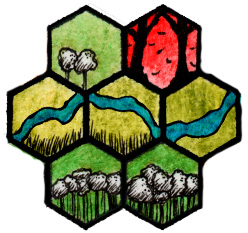
    (Top right on the map below)

    Room 1

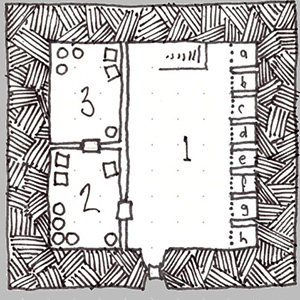
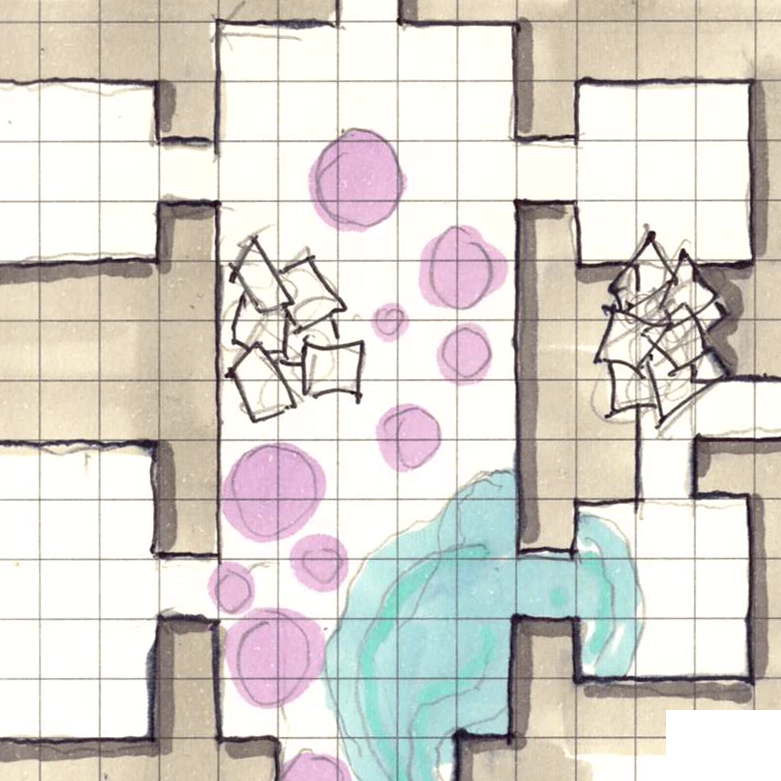
    Room 1 is a large room about 25ft. by 45ft. Stairs lead up to the far end of the room. There’s a closed door in the wall to the left, and the right-hand side of the room is made up of eight jail cells, each 5 feet square.

    The jail cells contain…

    • Cell “H”, 1 Gnoll
    • Cell “G”, 2 Kobolds
    • Cell “F”, empty
    • Cell “E”, 2 Kobolds
    • Cell “D”, empty
    • Cell “C”, 1 Skeleton (Crumpled in the corner but will stand and fight if its cell is opened)
    • Cell “B”, 1 Skeleton (Crumpled in the corner but will stand and fight if its cell is opened)
    • Cell “A”, 1 Orc

    An Imp is busily unlocking cells and calling “Fight! Fight for your lives!”.

    If the party can approach the tower stealthily, the imp will use its first round to fly to cell “H” and open it. If the imp had any kind of warning (remembering the imp is the mage’s familiar, so it’s in communication with her), then the imp will already have open cell “H” and will be moving to cell “G”.

    Each round, the imp will move to the next cell and release the occupants, skipping the empty cells of course. The imp will open as many cells as possible, but if it’s attacked it will fly up the stairs to escape.

    Room 2

    Store Room.

    General supplies are in here. Extra empty bottles, spare clothes, bedding etc. Some weapons taken from prisoners are kept in here as well.

    • 2 battle axes
    • 2 daggers
    • 1 Longsword
    • 1 set chain mail armour
    • 1 set of leather armour

    Room 3

    Store Room.

    Food and wine are stored here.

    • 5 dozen bottles of average-quality wine. (1gp per bottle, 1lb each)
    • 2 dozen bottles of above-average quality wine (3gp per bottle)
    • 1 dozen bottles of some very nice wine (7gp per bottle)
    • 1 dozen portions of perishable rations (last about 1 week).
    • 1 dozen portions of dry rations. (6gp)
    • An assortment of dried mushrooms (2gp, 1lb)

    2 hams hanging from the ceiling:

    • 1 cured ham, quite nice, worth 10gp.
    • 1 dry-cured ham, rare, worth 30gp.

    A small chest has been placed underneath a barrel filled with rocks that weighs 600 lbs. This will require a combined STR of 20 to lift.

    As soon as the barrel is lifted off the small chest, the chest sprouts a dozen small legs with webbed duck feet. The little feet pitter-patter as the chest scurries away to hide behind one of the crates in the room where it peeks out shyly.

    The chest is a Faithful Chest and will be grateful for being released. If treated nicely by a member of the party, and perhaps fed, it will likely bond with the character and follow them, letting them store treasure in it.

    Level 2

    Living Quarters.

    Room 4

    Hallway

    There’s not much to say about this one. It’s a hallway. 1 door and 2 stairs, one going up, one going down.

    Room 5

    Study

    At the end of the room is a desk. Stacks of paper and some quill pens lie about and 2 bottles of ink (8gp each). The notes, written in the mage’s own script, outline experiments to use magical items to power constructs.

    Room 6

    Closet

    Spare wizard robes and casual clothes. Each outfit is worth about 5sp. There are 10 identical wizard robes, slightly worn, and several other casual outfits can be found in this closet. Some hats and shoes are tossed carelessly in here.

    Room 7

    Bedroom.

    A reasonably sparse bedroom (the wizard doesn’t spend much time in here when not sleeping). The bed is large and soft.

    There is a large desk against one wall with a small chest on it. The chest has Arcane Lock cast on it (DC 25 to open). The chest contains:

    • 37cp
    • 13sp
    • 37gp
    • 3pp
    • 4 gems worth 40gp, 35gp, 30gp, and 25gp.

    Room 8

    Closet.

    7 identical sets of “wizard” robes in good condition, worth 1gp each. Some nice casual outfits are here as well.

    2 robes appear to be more formal wizards wear and made from silk and worth 10gp each.

    Level 3

    Room 9

    The whole 3rd floor is taken up by the wizards’ lab. This is where she will be found. Three large work tables contain various magical and alchemical apparatus. There is a ladder that leads up to a trapdoor in the ceiling. A magic circle is engraved on the floor near the middle of the room. A medium humanoid thing that appears to be made of mud, sticks, and moss, stands in the magic circle.

    The mage will attempt to engage the party in conversation and even offer them employment to fetch some magic items for her. If negotiations go badly, she will instruct the Bog Golem to attack. She’ll backup the golem, and probably have her familiar attack as well, but if the fight isn’t going well, she’ll use a scroll of dimension door to exit the scene, taking her spell book with her. The imp will either follow through the dimension door or exit via the window.

    On the tables around the room are diagrams and plans for various animata and golems. There is also a map of the local area.

    Level 4

    Room 10

    The roof is accessible via a trap door in the roof. It opens into a covered section of the roof. There is a plush velvet chair up here where you can sit and relax while taking in the view. A small three-legged drinks table stands next to the chair with a bottle of port and glass next to it. The chair has been enchanted to stay in nice shape despite the weather and has an aura of transmutation magic if detected. The table is a magical construct that will run away from anyone who comes near it, while not dropping the bottle or glass.

  • Minotaur Lair

    Minotaur Lair

    This underground lair is home to a nasty brute: Kevin the Undead Minotaur! Kevin has been down here a looooong time and died centuries ago and is now a Mummy Minotaur.

    A one-shot for 4 level 3 characters.

    In the game I was running, I located this dungeon beneath the Onyx Hill Ruins by Dyson Logos, but of course, you can put it anywhere you want.

    Note: There are no light sources anywhere in this dungeon except for those the characters bring with them.

    Level 1

    Level 1 has a large square obsidian column in the middle which slightly tapers towards the top. It is 10 feet wide at the base. The column has an ancient script carved into its surface. If translated, the script tells a tale of ancient battles.

    The four Living Statues’ alcoves, two to the north and two to the south come to life as the party enters and start attacking.

    There is a pressure plate trap (DC 12 to spot) on the ground as the players enter the room which drops a net on anyone who triggers the trap. Effect as per Net from the PHB equipment.

    The spiral stairs at the west end of this level go down to level 2.

    Level 2

    The obsidian column is larger here, 15 feet across at its’ base. There are more statues here, running down each side of the hall. The statues look exactly like the ones on level 1, but there are 18 of them! Fortunately these just regular normal statues. The real danger here are the 5 Shadow creatures in residence here.

    At the East end of this hall is an alter, carved out of the same obsidian as the column. There’s nothing particularly interesting about the alter except for the dark stains on it. Right in front of the alter is an open pit. It’s a 40 foot drop down to the next level but the pit is the only way to get down to the next level.

    Level 3

    Level 3 is covered by a permanent darkness spell in all areas except for the room in the middle where the base of the pillar is. Lots of bones are scattered on the floors of the various caverns down here.

    Kevin The Mummified Minotaur lives (exists?) down here. Between its Blindsight and Labyrinthine Recall, it has no problem with the darkness down here. With nothing better to do, it just wanders the caverns.

    Whenever the players enter a new cavern, there is a 1 in 6 chance the Minotaur will be in this room. It isn’t very hospitable and will attack straight away, starting with its charge attack unless the players can somehow get within 10 feet of it before it attacks.

    If the Minotaur isn’t encountered by the time the players reach the central room, the Minotaur will be there waiting for them and will start attacking using its’ Dreadful Bellow and then charging them.

    The obsidian pillar is quite wide here (20 feet across at the base). There are more inscriptions on the pillar here, telling the tale of XXX. There is a secret door in the pillar which should be relatively hard to find (DC 18). Inside is a stone bench with a small golden bull statue on it. It’s a  figurine of wondrous power, and can become a bull for 8 hours but can’t be used again for 5 days. The bull can be ridden, pull a wagon, and can attack if provoked. See below for stats.

    There is also a scattering of coins of different denominations on the bench worth 223gp

  • Chapel

    Chapel

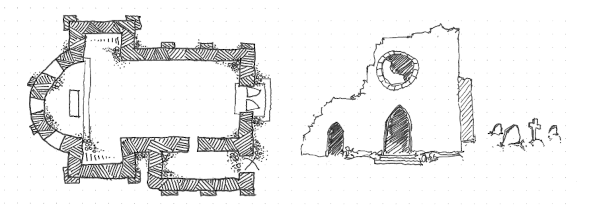
    An old chapel lost in the woods. Only ruins of the ground floor remain.

  • Korenia

    Korenia

    Here is a selection of 3D-rendered images that I played around with quite some time ago. I think they were done with E-on Vue. It was fun to play around with 3d rendering software, but very time-consuming and with a steep learning curve.

    The location is a town called Korenia in a harsh desert. It’s built around a freshwater spring and is the only water source for some distance. A wicked ruler has monopolised the water supply and controls the small population by rationing the water.

    He lives in a palace with a golden dome that shines brightly in the desert sun. The palace is surrounded by a lush lawn. To keep people away, the lawn is actually blades of grass and will cut people who try to walk on it.

    A covered market bisects the town with the newer, wealthier part of town to the north, closest to the palace. The older, grittier part of the town lies to the south of the market.

    There is a cistern system beneath the town which could be used to covertly access the dome.

    Rough sketch of the town.

    View of the palace, looking back at the town across the killer lawn.

    Cutaway view of the cisterns under the town.

    Cisterns from a different angle.

    View of the market, sans buildings.

    Interior of the market, sans buildings.

  • Cult of the Evil Snake Dudes

    Cult of the Evil Snake Dudes

    In a mosquito infested swamp where the Cotton Mouths slither, there lies an abandoned temple. Nobody knows what happened to the Snake Cult that lived here and there is little left to mark their passage.

    A one-shot adventure for 4 level 2 characters.

    In addition to the main temple building, there was once a dorm building where the acolytes lived together and four smaller dwellings where the priests each had their own space.

    As the swamp waters rose, the dorm and the individual dwellings became partially submerged in the waters. The doors are swollen shut but are rotted to the point that it wouldn’t take much effort to break them down. Anything inside these buildings of any interest rotted away many years ago.

    The main temple had been built well up from the ground and is still above the water level and is currently home to 5 Giant Poisonous Snakes that are concealed in the leaves and debris that litter the floor, and they are very territorial.

    At the back of the main temple, behind the altar, are some stairs leading down to the underground level. The stairs exit into area 4 in the below ground map.

    The floor in this area is flooded with murky water about 1 foot deep. The water is deepest in the “tail” end of the map (near room 1). The floor level raises a bit towards the “head” end of the map (room 13) where it is only a few inches deep.

    Since this dungeon has been long abandoned, the only inhabitants of this place are the undead and some snakes.

    Room 2 is a library but all the books are rotted away. There is a secret door (DC 10 to spot) to room 1. The door triggers a poison arrow trap (the cultists were fond of their poison) that fires when the secret door is opened (DC 15 to find the trap. Dex save DC 12 to dodge. If hit, DC 12 Con save. On a failed save, applies Poisoned status for 1 hour. Successful save means no poison). There are more library books in room 1 as this was where the priests kept their more valuable books. Again, most of them are rotted away, but there might be a few salvageable books or scrolls here suitable for the characters level.

    There is a pit trap at location 3. Keep in mind that nearly 1 foot of murky water covers the trap, so is very difficult to spot (DC 16). Fortunately, being underwater means that the pit is full of water and you only have to swim to the other side. Just watch out for the 4 Poisonous Snakes that come out to say “hi”.

    Area 4 is the staircase to the temple above. There is 1 foot of murky water at the bottom of the stairs.

    Rooms 5, 6, and 7 are old studies and bedrooms for the highest-level priests. This would make great spots for some skeleton priests.

    (I honestly forget what I had planned for the trap at location 8. Another pit trap would be boring, so maybe a Gelatinous Cube living here instead of a trap.)

    The trap at location 10 (DC 14 to spot) is a combination alarm and Net trap. The net falls from the ceiling covering the 5ft by 10ft area indicated on the map. The net restrains anybody under it when it falls, while the alarm bell alerts some skeletal warriors in room 11 who come out to attack while the party is distracted by the net. If the players enter room 11, more skeleton warriors emerge from rooms 9 and 12, attempting to surprise the party (DC 12 stealth).

    Room 13 is where the treasure is, on the raised platform in the centre of the room. The water is only an inch deep here and the platform is raised above the water level and is dry.

    The trap in room 13 is another water-filled pit trap, but since the water is much shallower here, it’s easy to spot (DC 11). Spotting the trap might help because it is where a Giant Zombie Constrictor Snake lives. The snake is not a pretty sight, with layers of skin peeling off and snake rib bones poking out.

    Map of the above ground temple. Note the insert in the top right of the map also shows the location of the dorms.

    Underground map

    Underground Snake Cult Lair
  • Stables

    Stables

    My son’s D&D game is now in a Fey palace. A curious thing about this palace is that depending on which door you go out of, it’s a different season. The Stables are outside the east door, where it is Summer. An ambush has been set here with some archers on the top level of the stables, and more evil doers on the ground level to harass the party when they are distracted by the archers.

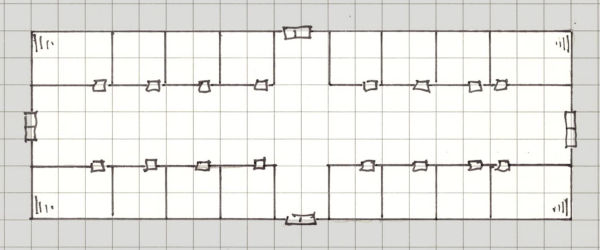
    Map of the ground floor and mezzanine. Each square is 5 feet.

    Stables
  • Hedge Maze

    Hedge Maze

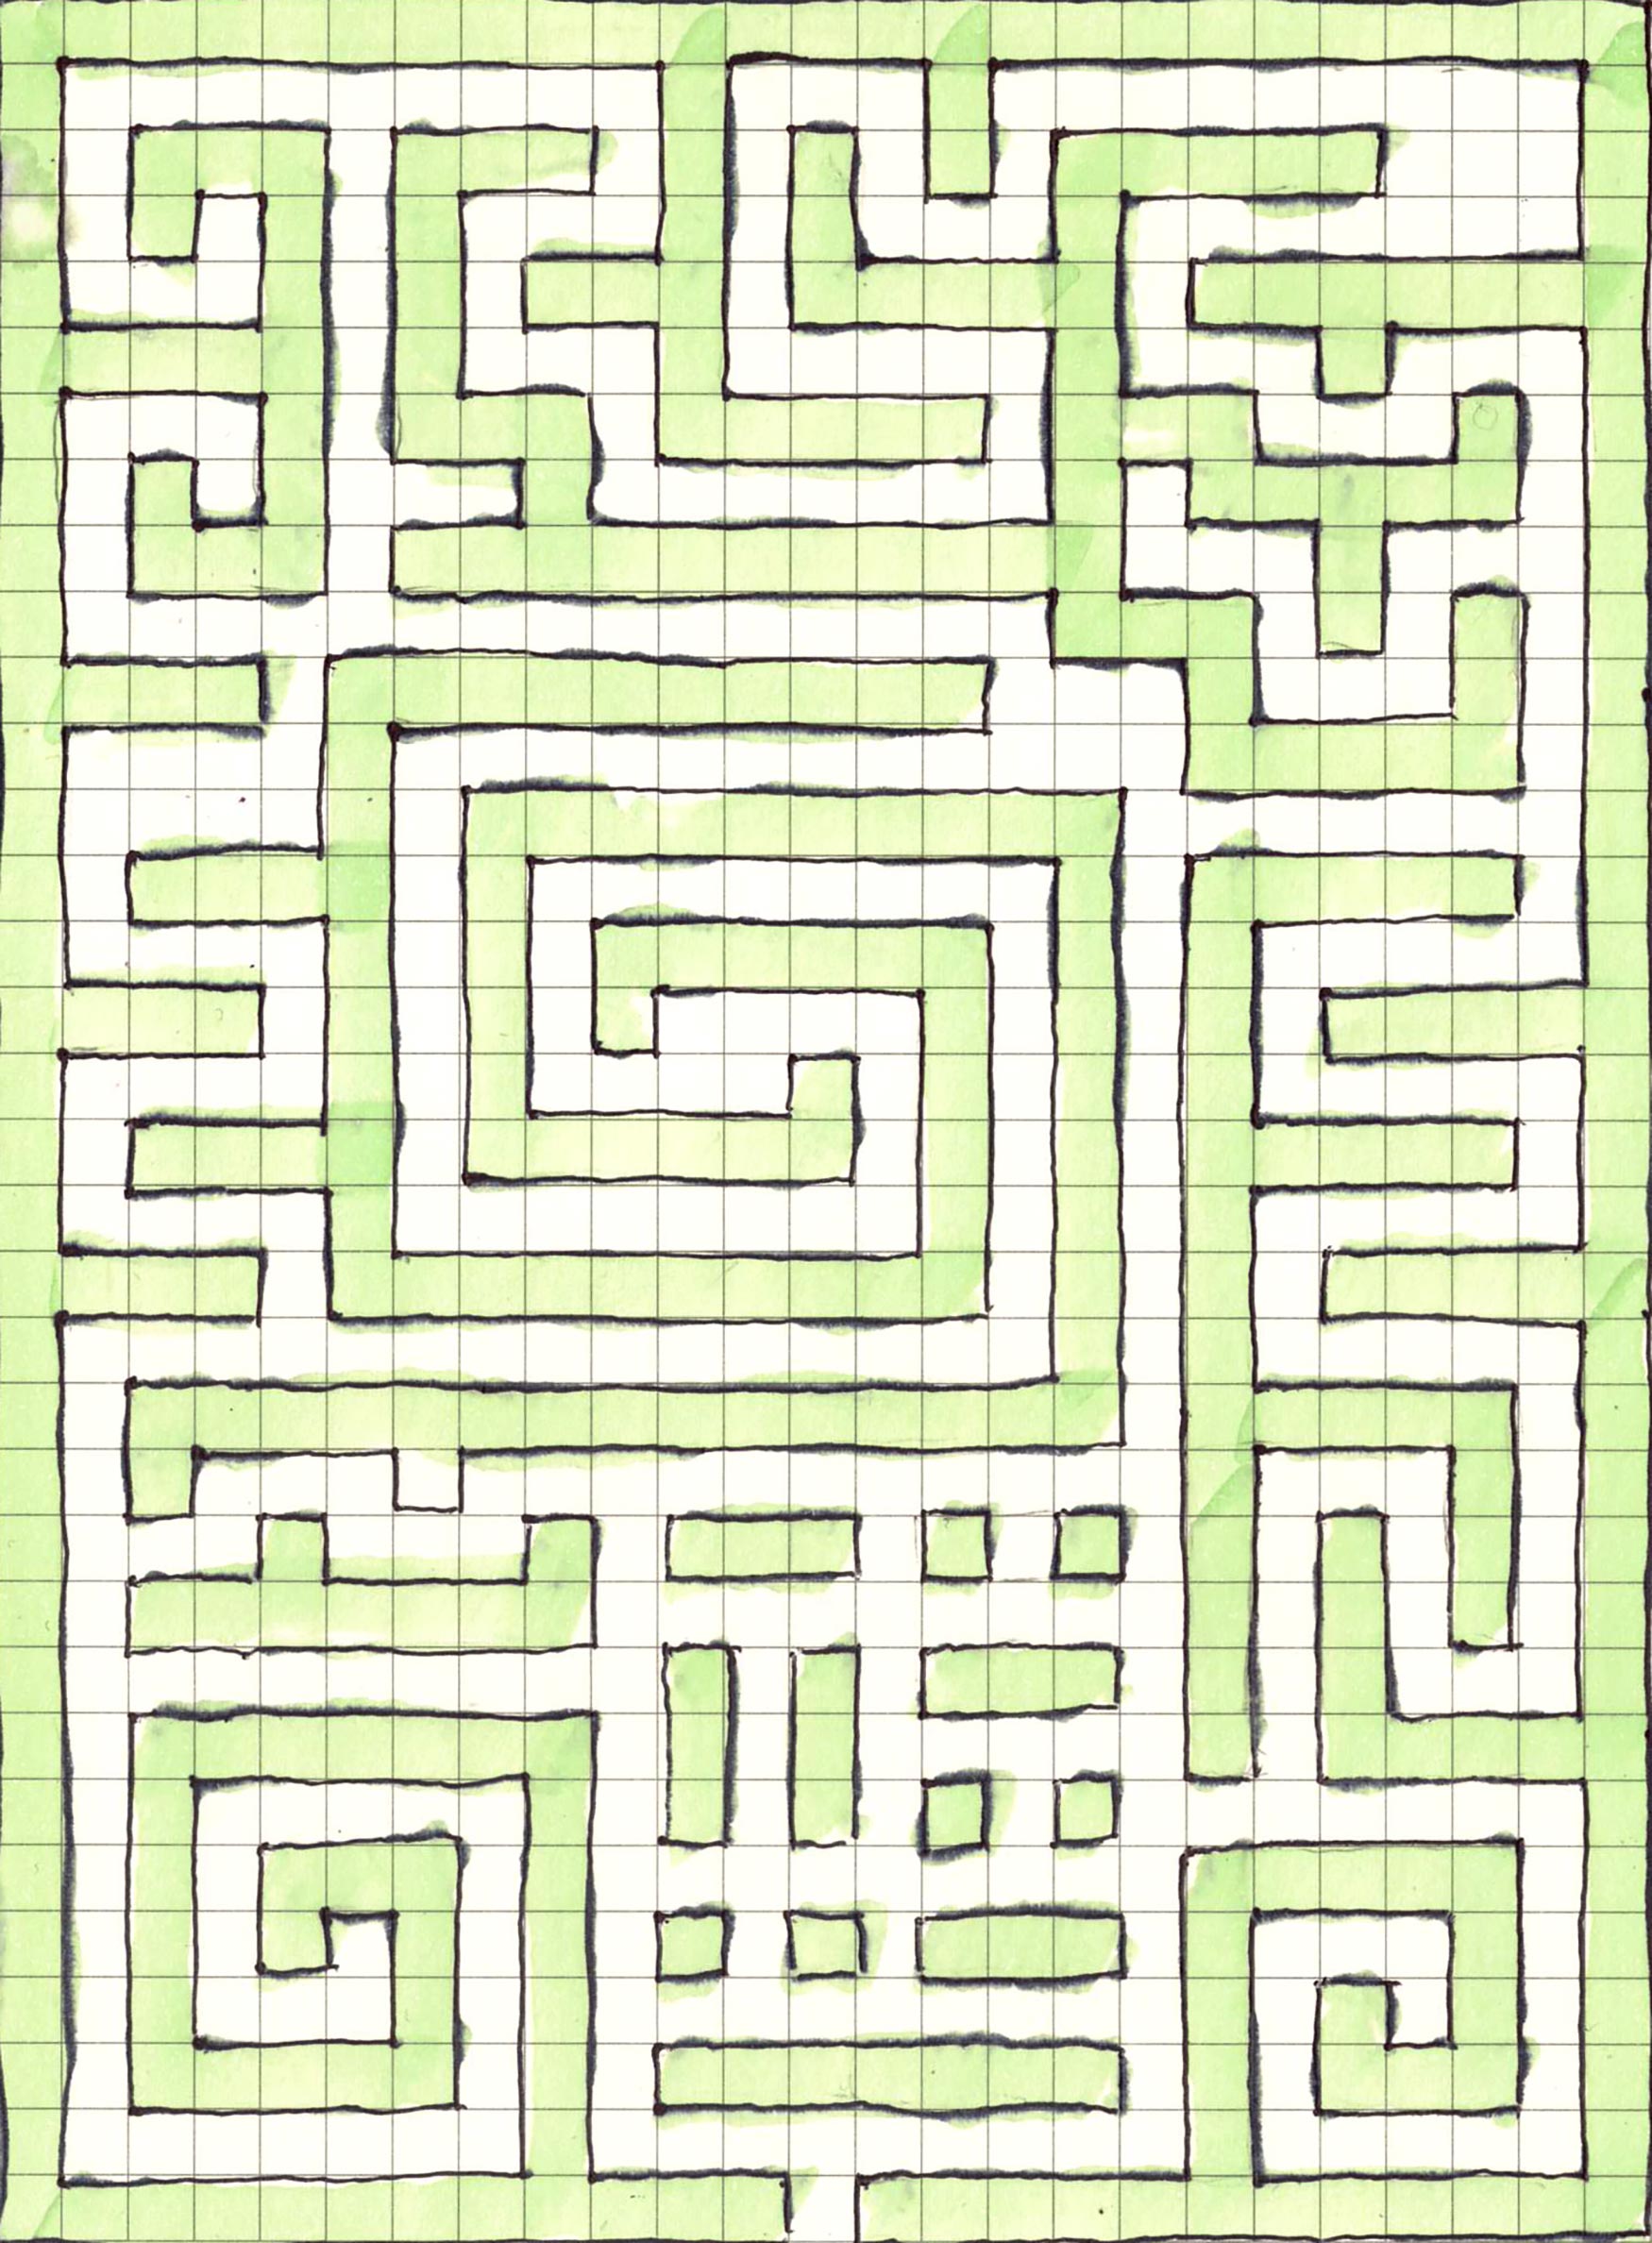
    My sons D&D game is now in a Fey palace for a while. A curious thing about this palace is that depending on which door you go out of, it’s a different season. This Hedge Maze is outside the west door where it is Winter. I kept thinking about the hedge maze from The Shining when I was drawing it.

    This 300dpi image is 70px per square and should fit a VTT system. Each square is 5 feet, and the hedge is meant to be a significant barrier and 15 feet tall.

    Hedge maze
  • rovers’ end

    rovers’ end

    Rovers’ End is a small village on the three-way border of Dwarven controlled mountains to the west, human domain to the east, and largely uncontested wilderness to the north. This was a once prosperous village but has fallen on hard times.

    I originally used the watabou city generator to make this map, but it’s undergone a few revisions and additions since then. This is the most recent redrawn version.

    Rovers’ End

    The Town Square has a well in the middle and hosts a monthly market where farmers from the outlying areas come to sell produce. Dwarven merchants often come into town at market time to sell pots and pans and the like.

    The Council Building is where the council meets and is also where town records are kept (although births, deaths, and marriages are recorded at the church). There is almost always at least one council member present here.

    The Baker uses locally grown grain ground at the nearby mill and produces good quality bread here. Nothing fancy, but tasty. Villagers buy directly from the baker, but the inn is the bakers’ main customer.

    The Local Inn is the social heart of the town. Food, drink, lodgings, as well as basic adventuring gear can be purchased here. In more prosperous times, the inn would have often been full, but now many of its rooms sit idle. (I’m using Dyson Logos Wooden Duck Inn map for this.)

    The Manor House is where the local lord used to live. The town prospered under his patronage for a while, but strange events cast a shadow over the house, and people started avoiding the town which led to the current decline in the towns fortunes. After the lords’ death, the house has been locked and uninhabited.

    The Mill uses a water wheel drive by the river to grind locally grown grain.

    The Blacksmith is a gnarly old dwarf with a sour disposition but makes excellent quality metal goods. He typically mends pots and forges plough sheers, but has a small inventory of common weapons for sale to the occasional passing adventurers.

    The Docks used to see a lot more use than they do today, with shipments of grain and other goods being sent downriver to the larger towns. Today the docks sit idle a lot of the time except for harvest time, or when the occasional traveller arrives by boat.

    The Church is the spiritual heart of the village. Olaf, the head priest, has presided here for many years and is a strict but kind patriarch of the village.

    Orchard. Fresh fruits grown here.

    The map above is the 72dpi version. The map below is a 300dpi version.

    Creative Commons License

    This work by Lucien Stals is licensed under a Creative Commons Attribution-ShareAlike 4.0 International License.

  • wizards tower

    wizards tower

    This old watchtower is leftover from the Golden Empire. It was once a watchtower on the border, but in the many years since the collapse of the empire, it was abandoned to the wilderness. In spite of its age, this structure is in remarkably good shape and still habitable and is currently the abode of a wizard engaged in private study.

    Level 1

    Room 1

    A large, relatively empty area. Small (5′ by 5′) cells line the east wall.

    Room 2

    Store Room.

    General supplies in here. Extra empty bottles, spares clothes, bedding etc. Some weapons taken from past prisoners kept in here as well.

    • 2 battle axes
    • 2 daggers
    • 1 Longsword
    • 1 set chain mail armour
    • 1 set leather armour
    • Kree’s Spear will be in this room.

    Room 3

    Another Store Room.

    Food and wine stored here.

    • 5 dozen bottle of average quality wine
    • 2 dozen bottles of above average quality wine
    • 1 dozen bottles of some very nice wine
    • 1 dozen portions of perishable rations
    • 1 dozen portions of iron rations
    • An assortment of dried mushrooms

    2 cured hams hanging from the ceiling.

    Level 2

    Living Quarters.

    Room 4

    Hallway

    Nothing much to say about this one. It’s a hallway. 1 door and 2 stairs, one going up, one going down.

    Room 5

    Study

    At the end of the room is a desk. Stacks of paper and some quill pens lie about and 2 bottles of ink. Notes written in draconic outline experiments in the use of magical items to power constructs.

    Room 6

    Closet

    Spare wizard robes and casual clothes. Nothing special.

    Room 7

    Bedroom.

    A reasonably sparse bedroom with a large bed.

    Room 8

    Closet.

    Spare robes.

    This is where the wizard stores his formal wizards wear. These robes are cut from better cloth, literally. Nice silk and satin robes.

    Level 3

    Room 9

    The whole 3rd floor is taken up by the wizards’ lab. Three large work tables contain various magical and alchemical apparatus. There is a ladder that leads up to a trapdoor in the ceiling. A magic circle is engraved in the floor near the middle of the room.

    Level 4

    Room 10

    The roof is accessible via a trap door. It leads into a covered section of the roof (probably used in ages past as shelter for any guards on duty). There is a great view from up here, but nothing else of any interest.

  • underhill

    underhill

    After seeing Dyson Logo’s beautiful little map of Onyx Hill, I decided to have a crack at drawing what lies beneath the hill. I’m planning to add this into my son’s game. I don’t think he’s going to find this site before we get to the location in game.

    I figured the base of the onyx pillar would get bigger as it goes down. Perhaps there are some long lost inscriptions on the pillar in the depths. I’ve also added a small hidden nook at the very base.

    The trick to getting down to level three is that you actually need to go down the pit trap in front of the altar on level two.

    The image above is 72dpi.
    The image below is300dpi.